 Cafe au lait, a French term that means “coffee with milk,” is a drink made with hot, fresh coffee and milk. This drink is a popular accompaniment to breakfast in many former French colonies. This beverage should not be confused by a latte, which is a drink made with espresso. This can cause confusion in a cafe, so be precise about what you’re asking.
Cafe au lait is made by heating milk and pouring it into a cup with the coffee. The resulting drink is well mixed because the two ingredients are combined, not layered. You can either drink it plain or add sugar to suit your personal tastes. For a distinctive bitter taste, chicory can be mixed with coffee beans in certain regions. This is particularly common in Louisiana.
Cafe au lait is a variant of brewed black coffee that can be different in different countries. It’s a middle ground between blended coffee drinks and brewed black coffee. Each variation mixes hot coffee with milk. The name will usually indicate this. It is also known in Germany as Milchkaffee or “milk coffee”. Some coffee shops call it a misto or blend.
 Cafe au lait’s characteristic brown color is used to describe complexion. People of mixed race often have creamy brown skin that hints at their diverse ancestry. The term refers to a specific type of birthmark in dermatology. These spots may be harmless but they could also be a sign that someone is at high risk for neurofibromatosis. This is a condition where small tumors form throughout the body and bone.
Make cafe au lait at your home by brewing a pot dark roast coffee. Cald the milk while the coffee is brewing. You can steam your milk at home if you have one. To bring the milk to a boil, heat a heavy saucepan over medium heat. Add the milk to a large saucepan and heat it on medium-high heat. Once the milk has frothed, add a cup of coffee. Before you start, you might want to add some sweetener. You can either drink the coffee plain or add mint or lemon to give it a unique flavor. It’s also great with croissants and other breakfast pastries.
 Whole Milk
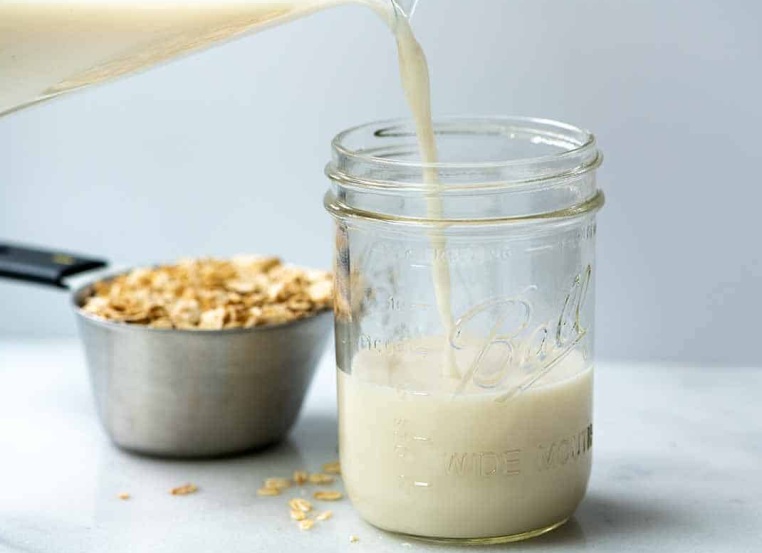
 Skim Milk
 Almond Milk
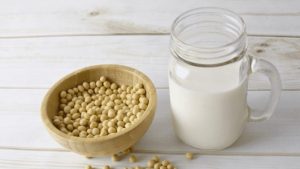 Soy Milk
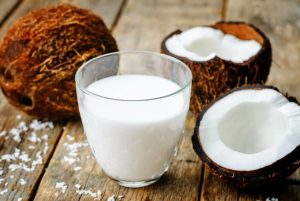 Coconut Milk
 Two occasions were used to study this: 46 recreational cyclists were able to ride 5 km in the shortest time possible.
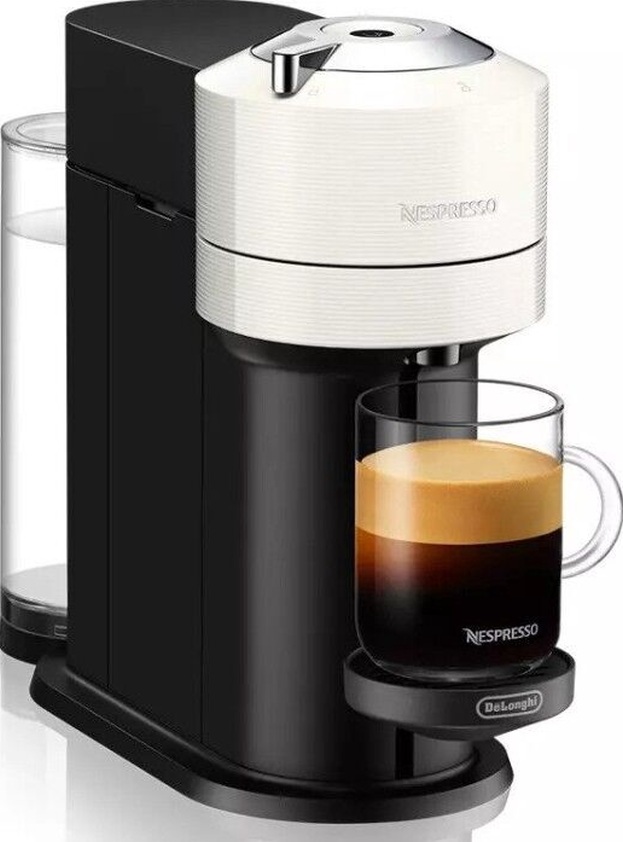


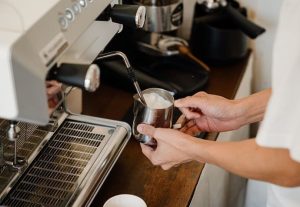 Given the fact that many of us appreciate milky coffee such as lattes, the ultimate secret behind a fantastic cup of coffee lay in steaming the milk properly.
 Next you want to make sure your machine will create the ideal froth. Do get that near-perfect froth, you need to have dry steam, meaning you need to bleed out the water from the pipe that runs from the boiler and the valve that manages the flow of steam. If your espresso machine has no always enabled steam system, turn it into steam mode, wait for about 10 seconds and next open the steam valve lightly into an empty container right until water turns to steam. Wait about half a minute, and do this procedure all over again. You should now have that proper dry steam. If your unit does not have always on steam, you need to start frothing the milk immediately.
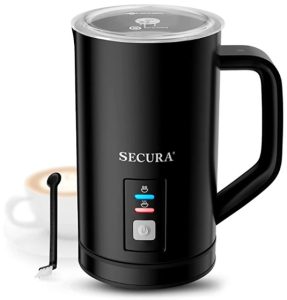 The Secura MMF-015 electric milk warmer/frother model can froth 125ml (4 oz) and heat 250 ml (8 oz.) Milk. You can choose a larger unit (MMF-615) of this Secura as well, then it’s capacities are 250 ml (8.5 oz.) for frothing and 500 ml (17 oz) for heating. This milk frother is an elegant and attractive in silver with black accents and is also available as black model.
 You can attach the whisk to the carafe’s axle/side. Add milk to the jug and seal the lid. To heat or froth your milk, press the button on the container. Push the button and let go immediately. The carafe’s red and blue indicators will both light up. The blue light will go off when the milk has been frothed or heated. The beverage is ready when the red indicator flashes.
 Coffee – It’s more than just coffee. The way we see and taste coffee has changed dramatically thanks to specialty shops. There are many ways to prepare it. People are now more aware of the subtleties that can affect the flavor. What is the real difference between espresso and filter coffee?
 Filter drip coffee simplicity
 Do you dream of being a barista at home? Making your favorite coffee drink and then finishing it with an impressive piece of art?
 How to make a Latte Art Rosetta